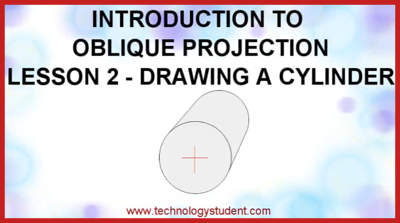
| YouTude Video - Drawing a Cylinder in Oblque Projection | |
 |
|
|
Drawing cylinders in oblique projection is quite simple if the stages outlined below are followed. In comparison with other ways of drawing cylinders (for example, perspective and isometric) using oblique projection is relatively easy. |
|
|
|
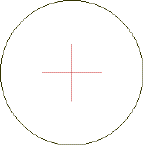
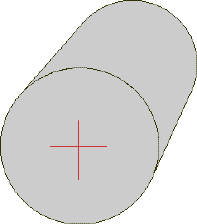
STAGE ONE: Draw a vertical and horizontal centre lines to indicate the centre of a circle, then use a compass to draw the circle itself. |
|
|
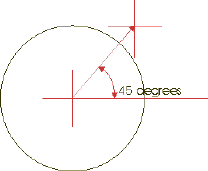
STAGE TWO: Draw a 45 degree line to match the length on the cylinder. At the end of this line draw vertical and horizontal centre lines. Remember the general rule for oblique is to half all distances projected backwards. If the cylinder is 100mm in length the distance back must be drawn to 50mm. |
|
|
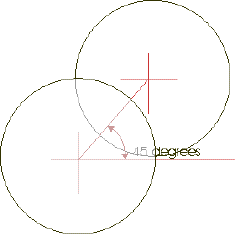
STAGE THREE: Draw the second circle with a compass. |
|
|
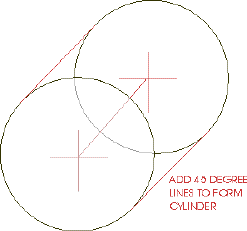
STAGE FOUR: Draw two 45 degree lines - to join the front and back circles. |
|
|
STAGE FIVE: Go over the outline of the cylinder with a fine pen or sharp pencil. Add shade - if required. |
| 1. Draw a cylinder using 80mm
as the diameter to the front and back circles.
|
|
|
|
|