CLICK HERE FOR INDEX PAGE
Presenting your Coat of Arms - 2
V. Ryan © 2006-2021 |
| |
PDF FILE - CLICK HERE FOR PRINTABLE VERSION OF EXERCISE
SEEN BELOW
Having sketched your Coat of Arms and
presented a summary of the information found on your surname - draw your
design using felt pens. Then use coloured card to put together a card
composite drawing. This is a drawing built up from a range of
card, forming layers. Coloured pencils and felt pens are then used to
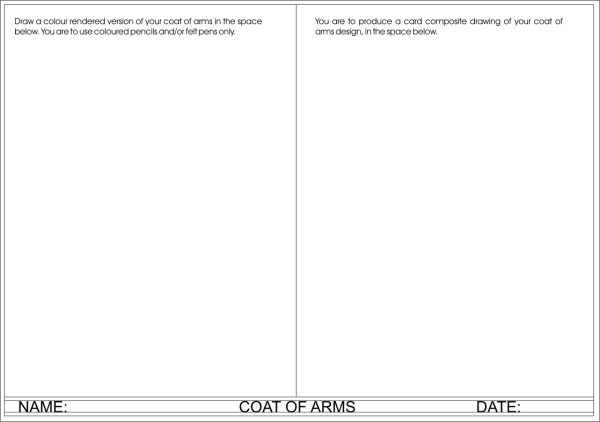
add detail. Use the template below to set out your designs / drawings. |
| |
 |
| |
|
|
| |
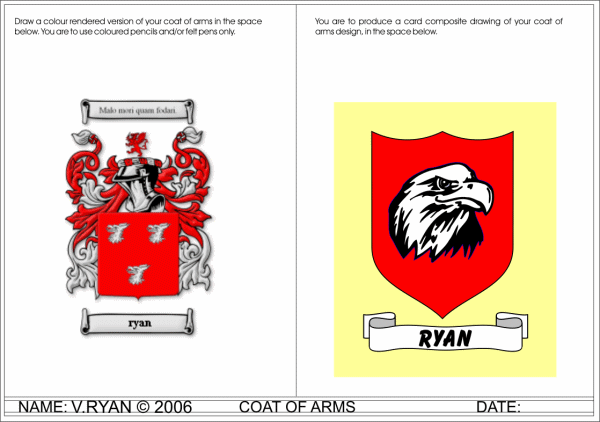
| A sample layout is seen below. The felt drawing is on
the left and the card composite drawing is on the right. |
| |
 |
| |
| STAGES INVOLVED IN PRODUCING THE FINAL
COMPOSITE DRAWING |
| |
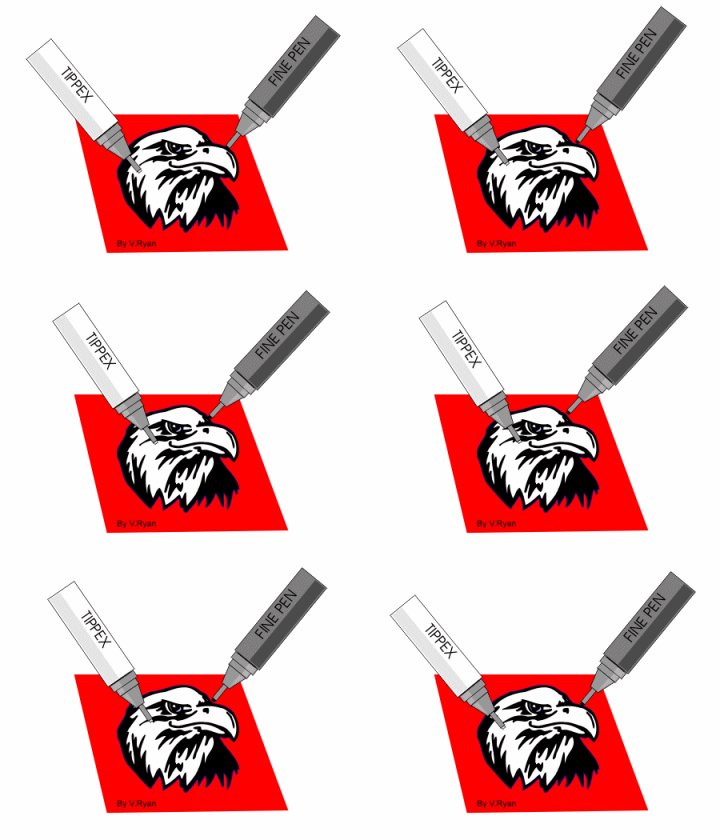
| 1. The eagle is drawn on red card
using a pencil first and then a fine black ink pen. The white is added
using tippex or white paint. This is the most difficult stage of the
composite drawing. |
| |
 |
| |
|
|
| |
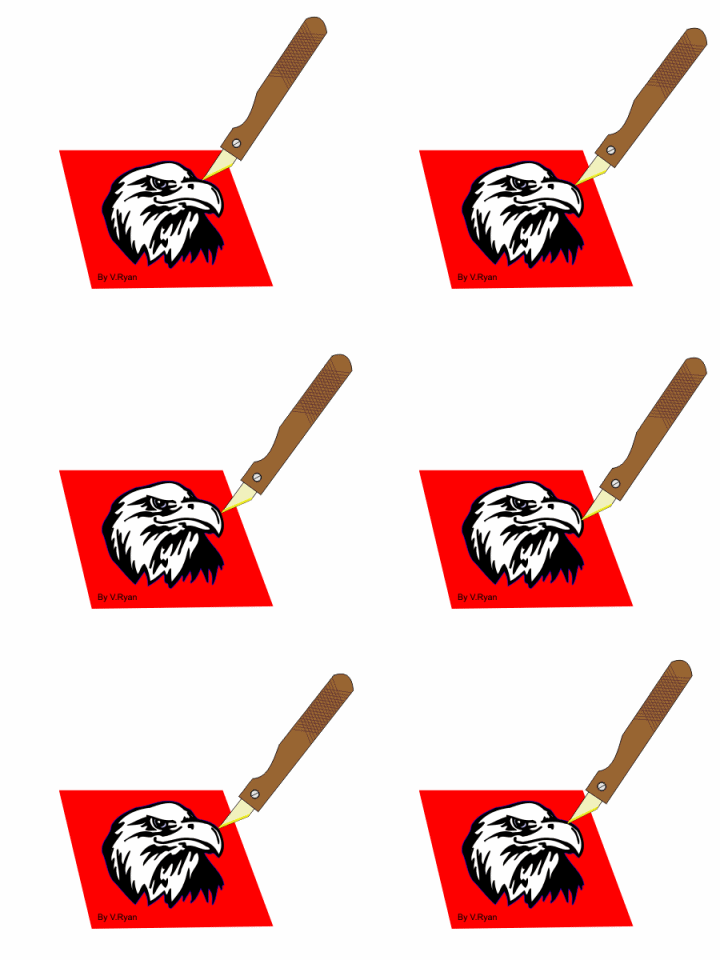
2. A craft knife
is carefully used to cut out the eagle shape. Use a scissors for added
safety.
Because the eagle has been drawn on red card it may not be necessary to
cut the shape out. This is because it is to be glued to a red shield.
Cutting out the shape gives a little more accuracy to the final
composite drawing. |
| |
 |
| |
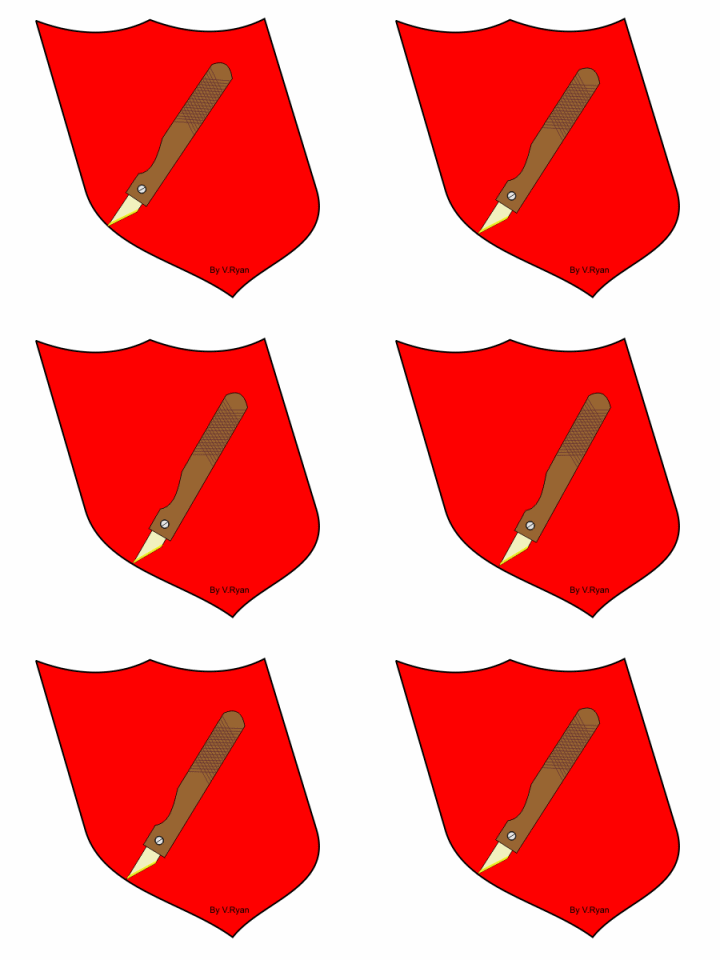
| 3. Draw the shield on red card and
cut it out with a scissors or a craft knife. |
| |
 |
| |
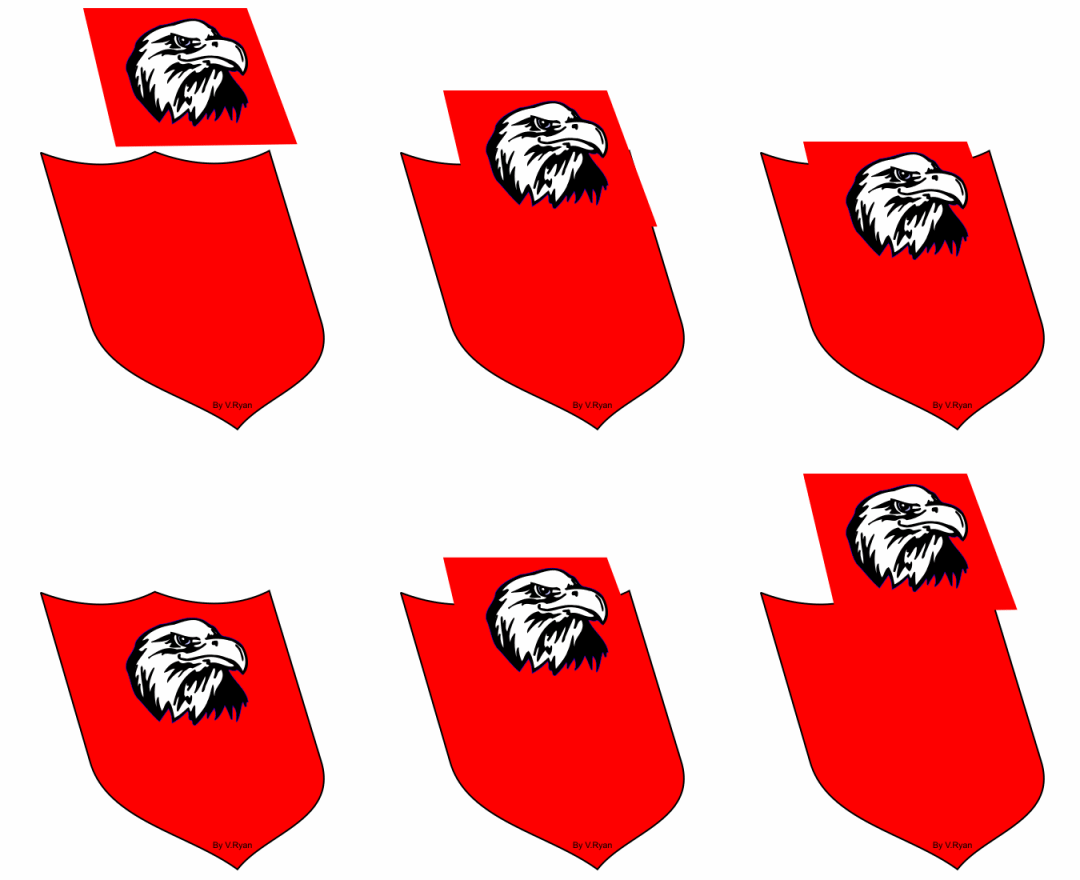
4. Position the
eagle on to the red card. Ensure that it is in the centre of the shield
and that the glue used does not spread out from underneath the eagle to
the surrounding card.
If this happens it may leave an unsightly line. |
| |
 |
| |
| 5. Glue the shield and eagle to the
base card (yellow). Ensure that the shield is in the centre of the card. |
| |
 |
| |
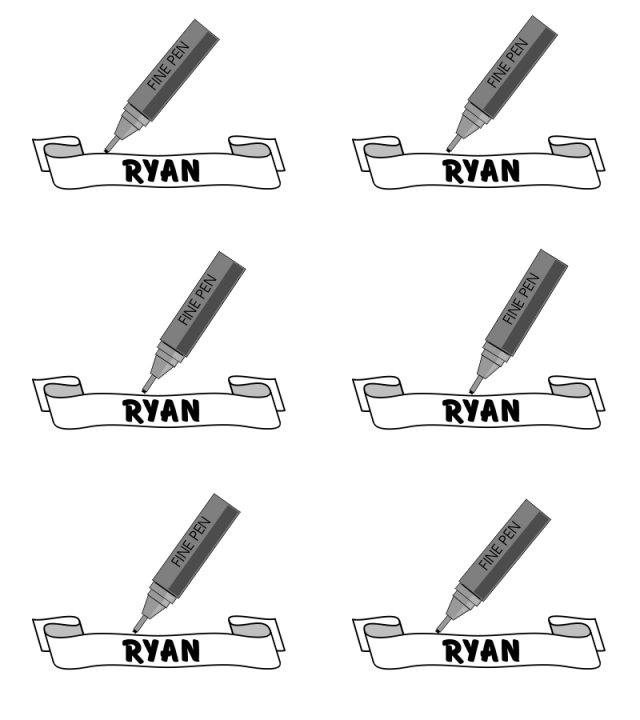
6. Draw the
banner on white card using a fine black pen or a colour of your choice.
Carefully cut it out using a scissors or a craft knife and glue it on
the card taking care to position it carefully. |
| |
 |
| |
|
|
| |
| 7. The completed coat of arms is
seen below. It can then be glued to the final design sheet. |
| |
 |
| |
| CLICK HERE FOR GRAPHICS INDEX PAGE |
| |


