|
PDF FILE -
CLICK HERE FOR PRINTABLE WORKSHEET |
|
|
|
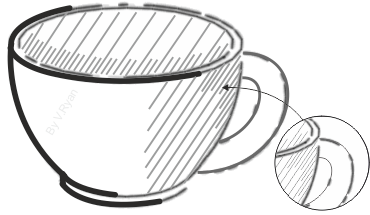
Hatching is a highly effective way of adding limited shade to a sketch /
drawing. Hatching lines are normally at an angle, between 60 to 45
degrees. They should be fainter than the outline of the sketch. |
|
|
|
CLICK HERE FOR ANIMATION |
|
|
|
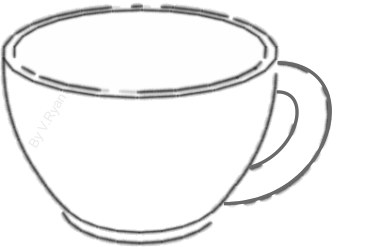
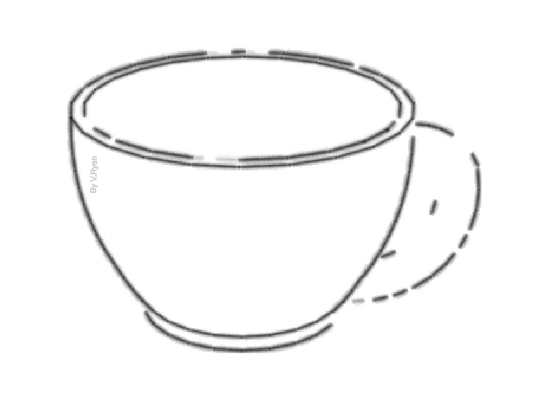
1. Draw the outline of the cup. A soft leaded pencil (2B) can be used for
the outline. You may prefer to use a hard leaded pencil(1H). This is a
personal preference. Broad and fine felt pens can also be used. |
|
 |
|
|
|
|
|
|
|
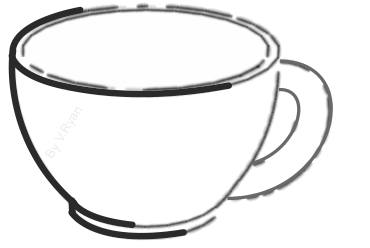
2. Add the darker lines by applying more weight. Then broaden the lines
with the pencil / felt pen. You may prefer to use a felt pen for the dark
broad lines. |
|
 |
|
|
|
|
|
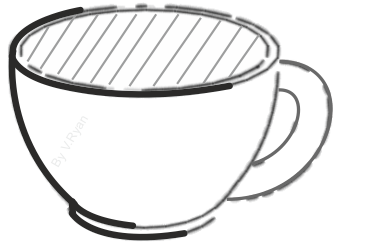
3. Add hatching to the internal part of the cup. The shading is usually
fainter than the outline. |
|
 |
|
|
|
|
|
|
|
4. Add further hatching, but this time short lines are drawn. They
reinforce the ‘lip’ of the cup. They are drawn all the way along the rim
of the cup. |
|
 |
|
|
|
|
|
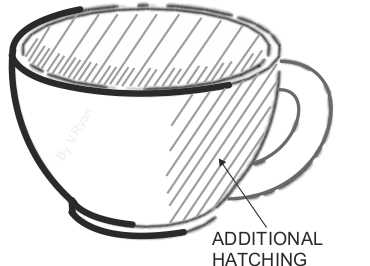
5. Draw further hatching lines on the right hand side of the cup. This
adds to the 3D effect. |
|
 |
|
|
|
|
|
|
|
6. Add shorter hatching lines to the right hand corner, near the handle. |
|
 |
|
|
| |
| |
|
CLICK
HERE FOR GRAPHICS INDEX PAGE |
| |