V.Ryan © 2017
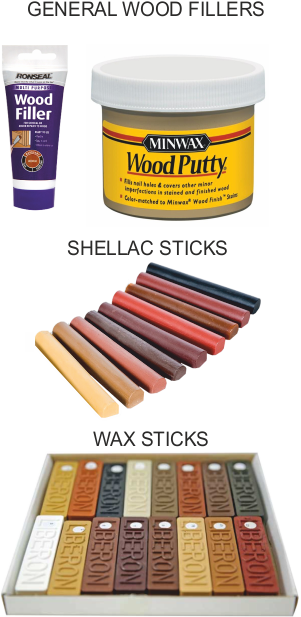
Filling cracks can be achieved successfully in a number of ways. The traditional method is the mixing a small amount of PVA or cascamite with wood dust to produce a paste, which is then applied to cracks and gaps. This can be really effective.
A range of premixed wood fillers are available, as powders to be mixed with water or straight from a tube. Dye can also be added to fillers, so that they blend in with the natural wood colour. This is even an effective when using a general filler such as ‘Polyfilla’. Remember to apply wood filler sparingly, as it will be necessary to sand down / levelled the surface when the filler drys.
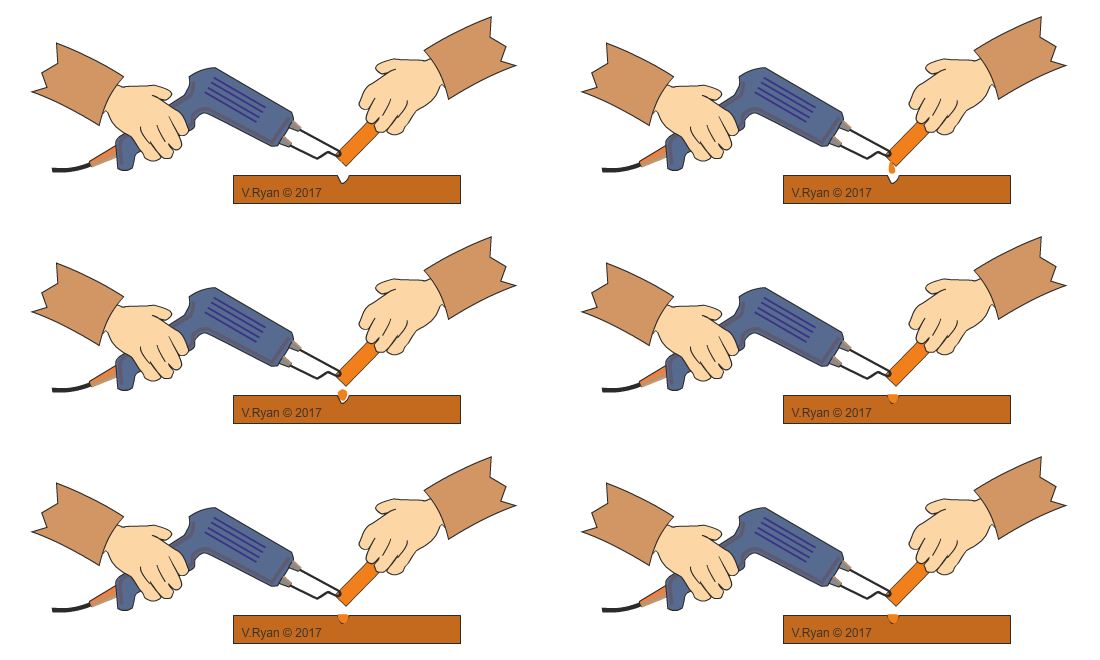
Shellac is supplied in stick form, in various shades. Shellac is actually resin secreted from tree loving bugs found in India and Thailand. It is melted into holes / cracks in the wood with a soldering iron and then levelled, usually with a chisel.
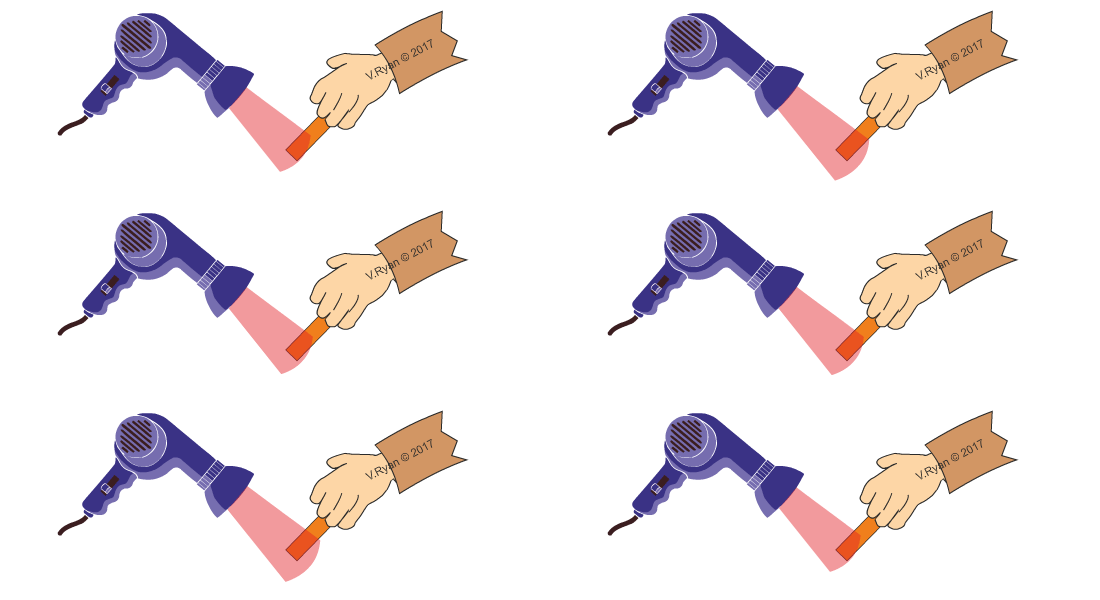
Wax sticks can also be purchased and again they are available in a variety of colours and shades. These are very useful when there is need to repair a scratch, nail hole or crack. The wax stick is warmed up (minimal heat required) until it becomes soft and then it is pressed into the hole / crack, with a suitable tool. The surface is then levelled with glass paper. If necessary, wax sticks can be mixed to produce the required shade.

Heat the shellac with a heat source, such as a soldering iron and as it melts ensure that it fills the crack / hole.

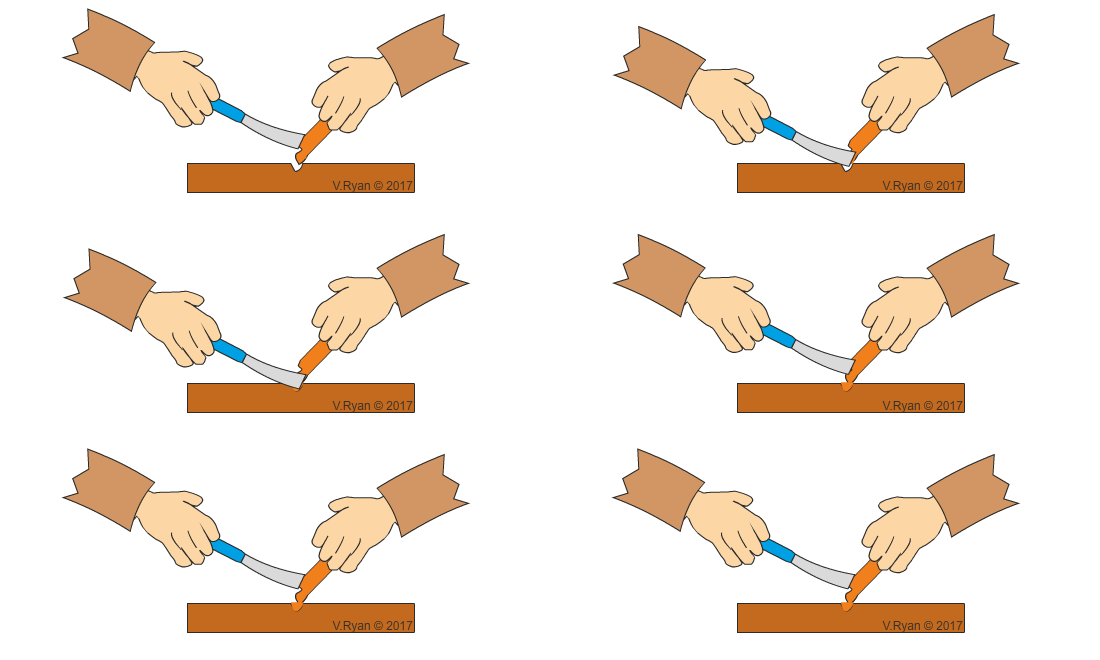
When the shellac cools, use a chisel to remove the excess, levelling the surface.

Use glass paper to smooth the surface so that it is ready for varnish or another finish.

Wax stick is heated with a hair drier, until it becomes soft and pliable.

Cut away a small amount of wax from the stick and press into the crack.

Smooth the wax with a spreader, until it is almost level with the surface.

When the wax is cool, use glass paper to smooth and level.
