| CLICK HERE FOR INDEX PAGE |
| |
| PREPARING THE FLASK AND CASTING |
V.Ryan © 2020 - 2021 |
| |
| PDF FILE - CLICK HERE FOR PRINTABLE WORKSHEET |
| |
| PowerPoint Version - CLICK HERE FOR WORKSHEET |
| |
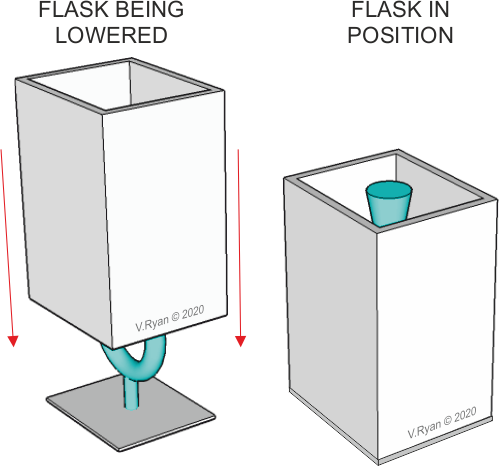
An outer flask’’ is lowered over the wax model and base. The flask must allow space around the model, normally about 10mm, all the way round.
When the flask is in position, on the base, it is ready for the investment mixture to be pour in, surrounding the wax model.
|
| |
 |
| |
|
|
| |
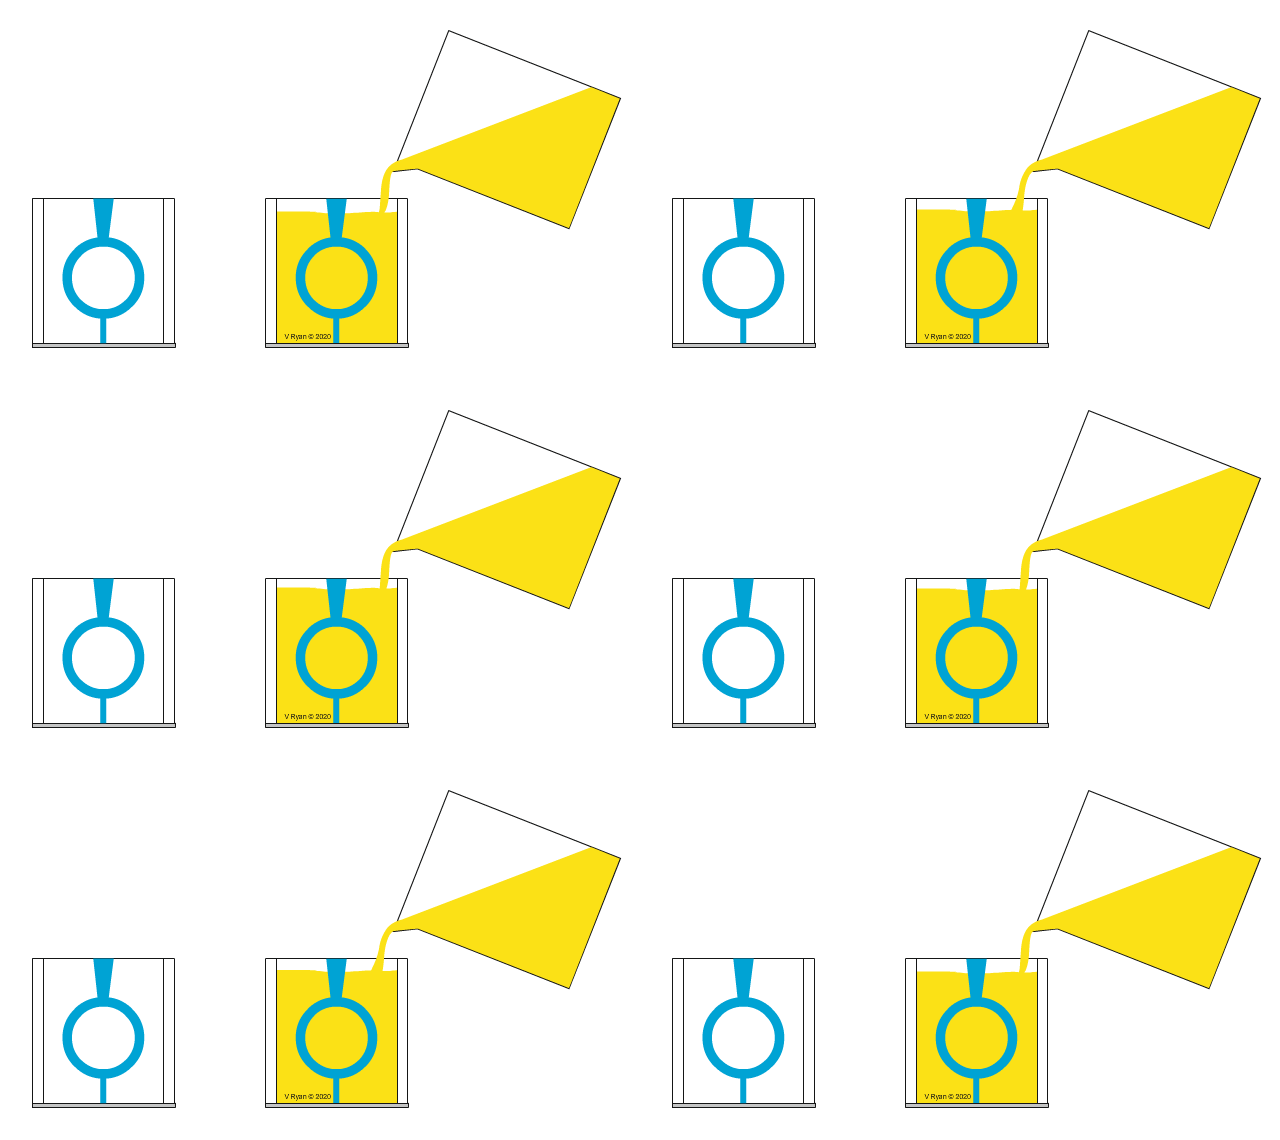
| The investment mixture is poured, surrounding the mould and is allowed to settle. It is left undisturbed for at least 15 minutes, allowing it to set. |
| |
 |
| |
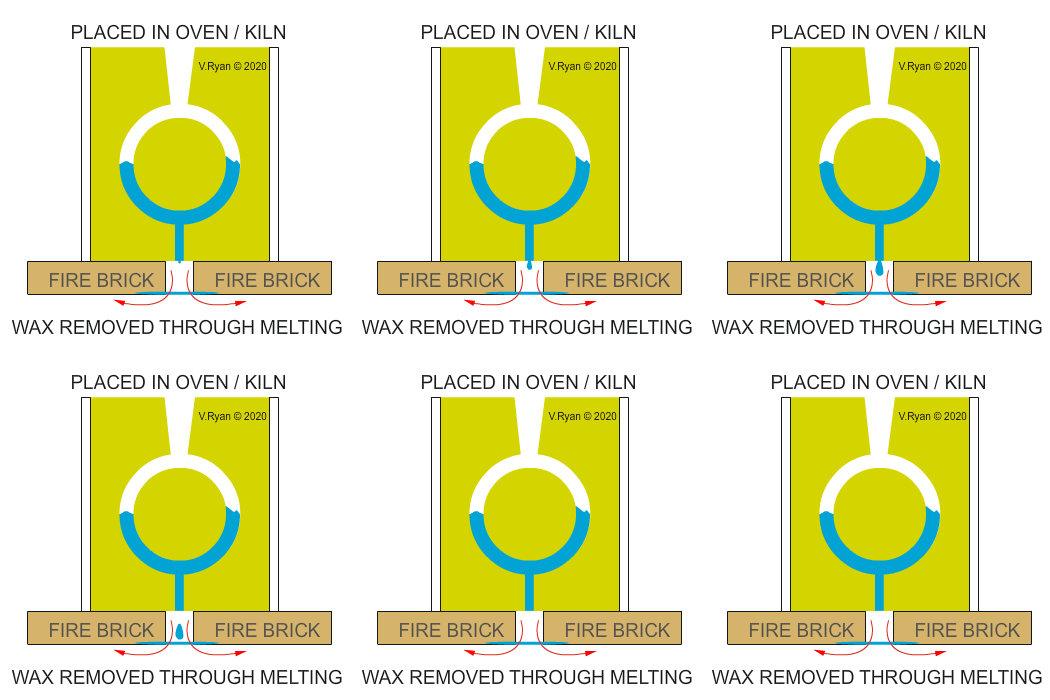
| The flask with its contents (not the base), are placed in an oven / kiln and slowly heated, over a number of hours. The wax runs out through the bottom sprue, as it melts. This is called the ‘burn out’ process. |
|
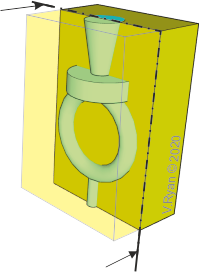
The view below shows a ‘section’ through the cured ‘investment’ mould. The wax can be seen in the centre, surrounded by the investment. This becomes a ‘hollow’ cavity, when the wax melts, taking the exact shape of the wax model. |
| |
|
|
 |
|
 |
| |
|
|
|
|
| |
| CASTING PROCEDURE |
| |
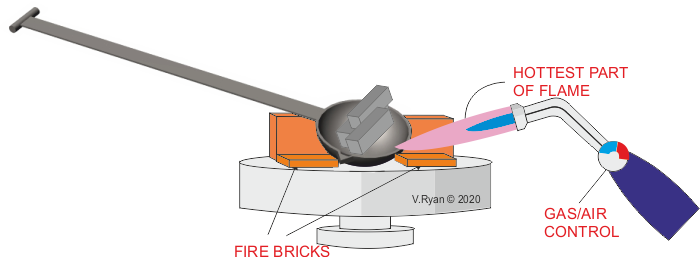
| The diagram below shows pieces of pewter cut to a size, suitable for heating in a ladle. Metals such as bronze, brass, silver and other precious metals, can also be used. Fire bricks are arranged around the bowl of the ladle, so that the heat from the brazing torch flame, is reflected back towards the pewter. As the temperature rises, the pewter begins to become molten forming a liquid. |
| |
 |
| |
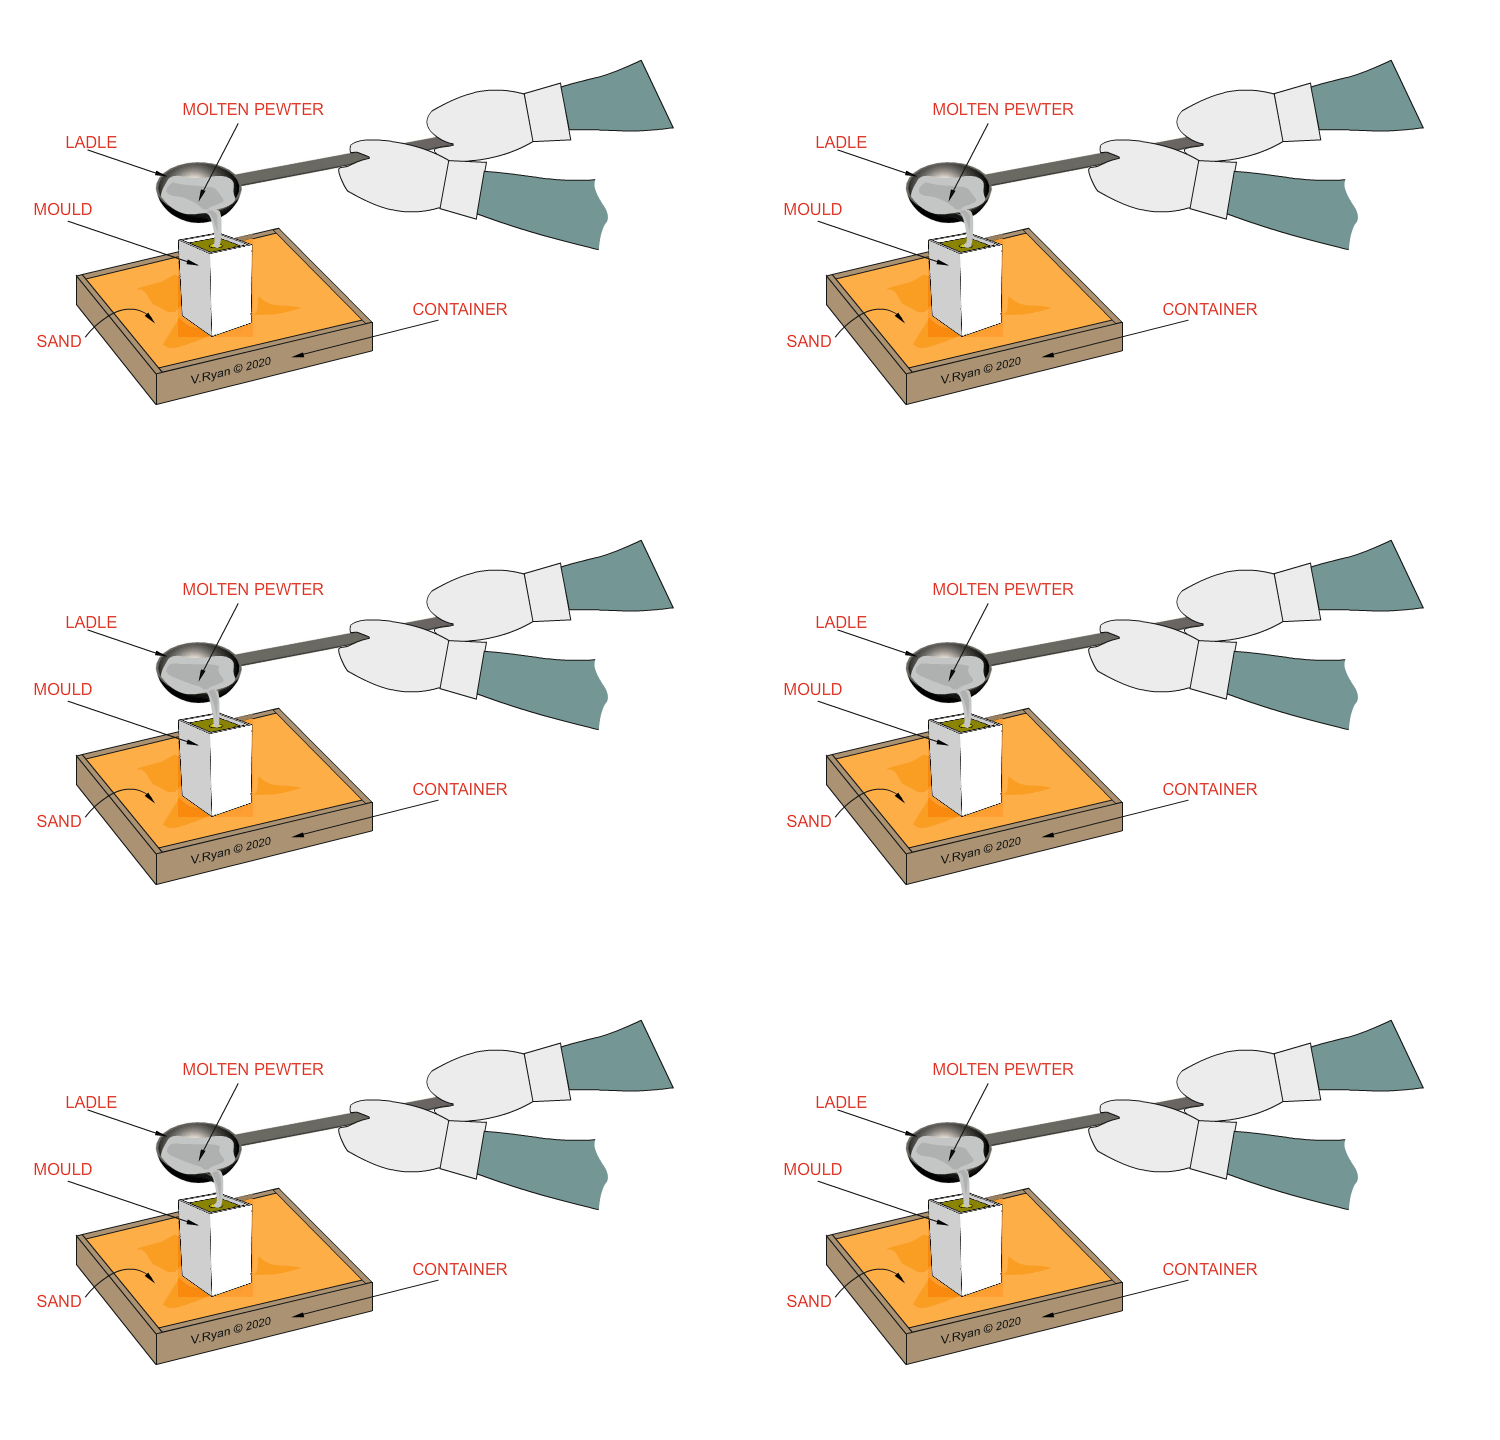
| The molten pewter is carefully poured into the ‘investment’ mould. It is important that the flask is stood in sand, in case any of the molten metal runs down the sides. If this happens, the molten metal will simply stay on the surface of the sand and cool down. The flask should never be placed on a cold surface. If molten metal comes in contact with a cold surface, it will ‘splatter’ violently. Anyone close to the area will be in serious danger. |
| |
 |
| |
|
|
| |
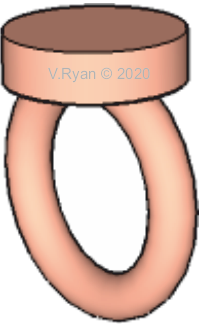
| The flask and its contents should be allowed to cool. This may take a couple of hours, depending on the metal being cast. The mould is broken apart and the cast product taken out. The sprues are removed, normally with a junior hacksaw (this metal can be recycled) and the product is finished, using files and appropriate finishing techniques. |
| |
 |
| |
| CLICK HERE FOR EQUIPMENT AND PROCESSES INDEX PAGE |
| |
|
| |
|


